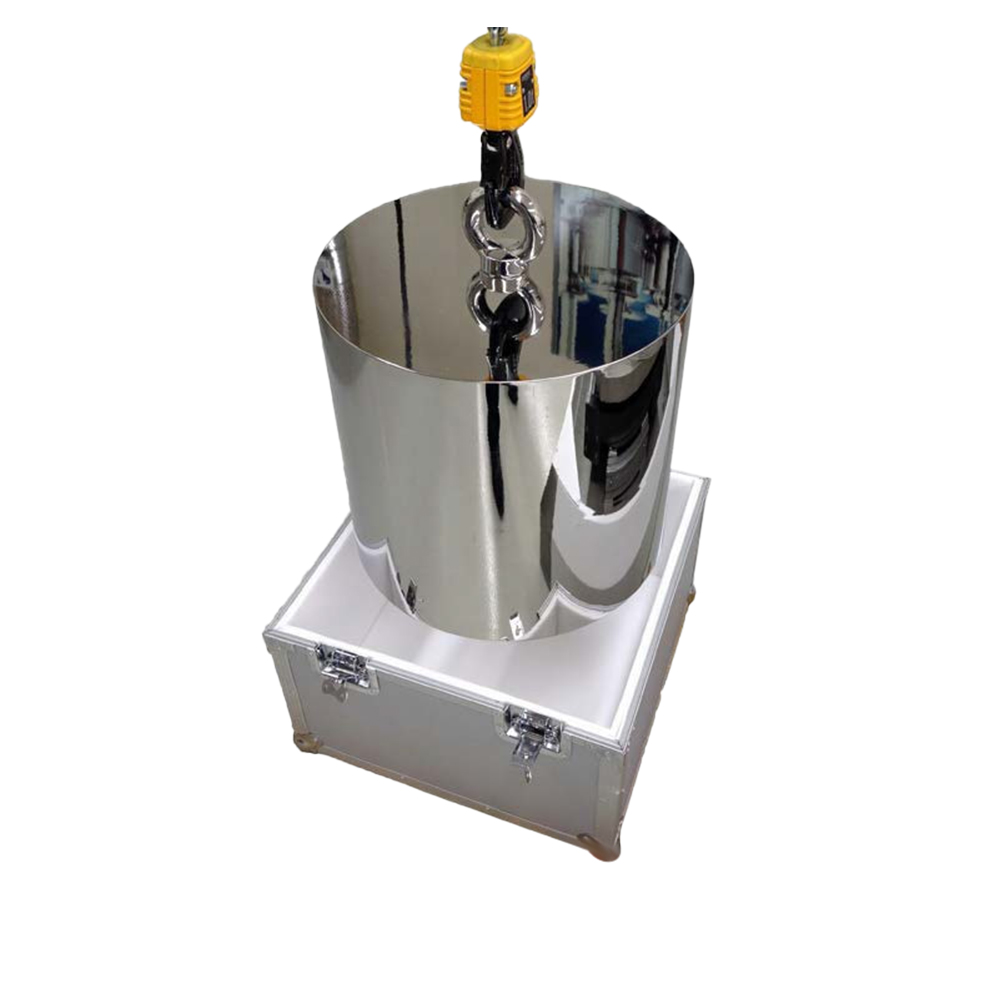
In industrial environments with high precision requirements, regular calibration of industrial test weights is a key step to ensure the accuracy of measurement equipment and processes. The following are detailed instructions and precautions:
Establish a regular calibration plan
Frequency: Determine the calibration cycle based on the frequency of use, environmental conditions and regulatory requirements. It is generally recommended to calibrate every 6 months to 1 year.
Record management: Establish a detailed calibration history, including calibration date, results, error range, and the next calibration date.
Choose the right calibration service provider
Certification body: Choose a laboratory accredited by ISO/IEC 17025 to ensure that the calibration meets international standards.
Technical support: Ensure that the calibration service provider can provide a detailed calibration report, including uncertainty analysis and standard traceability.
Perform environmental control
Temperature and humidity: Keep the temperature and humidity of the calibration environment stable (such as 20±2°C, humidity below 60%) to reduce the impact of the environment on the quality of the weights.
Avoid contamination: Prevent dust, oil and corrosive substances from contacting the surface of the weights.

Preparation before calibration
Cleaning weights: Use a lint-free cloth or special cleaning agent to remove dirt from the surface of the weights.
Check appearance: Make sure the weight surface is not damaged or deformed.
Warm-up: Place the weights in the calibration environment for a sufficient time (such as 24 hours) to adapt to temperature changes.
Calibration process
Standard traceability: Use high-grade standard weights (such as E1 or E2 grade) as reference.
Equipment use: Make sure that the resolution and accuracy of the calibration balance and equipment meet the calibration requirements.
Step-by-step testing: Increase the weights step by step from the lowest to the highest load, and record each measurement.
Repeatability test: Measure each weight at least three times to ensure consistent results.
Evaluation and adjustment
Data analysis: Compare the actual measurement value with the reference value, and calculate the error and uncertainty.
Adjustment plan: If the error exceeds the allowable range, adjust the relevant equipment or re-manufacture the weights as needed.
Subsequent maintenance and storage
Special storage: Store the weights in a dry, vibration-free environment to avoid damage.
Daily inspection: Check the physical condition of the weights regularly and stop using them immediately if any abnormality is found.
Train operators
Provide training to ensure that operators understand the correct use, storage and calibration methods to reduce human errors.
Through these steps, the accuracy of industrial test weights can be maximized, thereby improving the reliability of measurement equipment and process control capabilities.

 English


